Adding new content on your website is not just a matter of writing it, but also determining its keywords, tags, appropriate category, and how it all fits into your site taxonomy.
Ranking well on Google is one the biggest factors in bringing traffic to your site… but let’s go further into that. How is the search giant going to know to even start crawling your site when you’re live? Enter the XML sitemap.
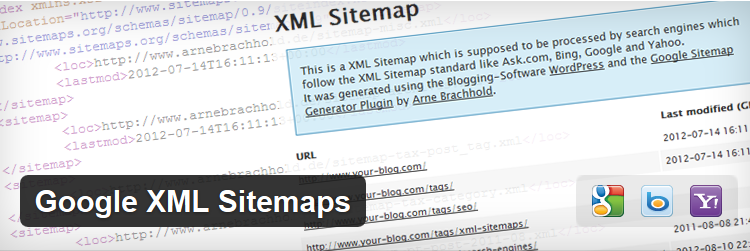
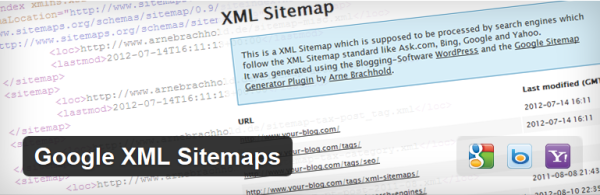
What is an XML Sitemap?
Results presented on the pages of the search engines are indexed pages viewed by crawlers called googlebots – or spiders – they’re indexing pages round the clock to collect websites’ information across the Internet. But remember, a bot doesn’t read a website’s content like you or me.
Because of this, you need a file that lists all of the pages on your website and metadata, indicating when pages were last updated, content types, and so on that it can quickly read.
You can actually make this sitemap file easily, but it needs to be written in XML, so there are alternatives to writing it yourself.
Importance of XML Sitemap
Search engines have a much easier finding and indexing your website, and this comes in handy when you’re constantly updating your website. XML sitemaps are a fast way to notify and guide search engines through your new content to be indexed.
Make sure you take advantage of this by making it as easy as possible for our bot friends to be able to read the site. Make sure that you have plenty of internal links (this is an internal link to another article I wrote about why you should never buy backlinks – something different) since bots are actively following them.
If you don’t have a way for them to access certain pages, it will be very difficult for them to be able to read your content.
While it’s not guaranteed that your site will be indexed right away if you submit your XML sitemap, it will definitely happen faster. You can create and submit your XML Sitemap directly to Google by using Google Webmaster Tools, or you can use a WordPress plugins like that one or WordPress SEO by Yoast.
And Now Onto The Google XML Sitemaps Plugin…
So before you can submit a sitemap to Google, you need to have a sitemap. But what if you don’t know how to write a sitemap? This free WordPress plugin will quickly get your sitemap file ready to go in no time.
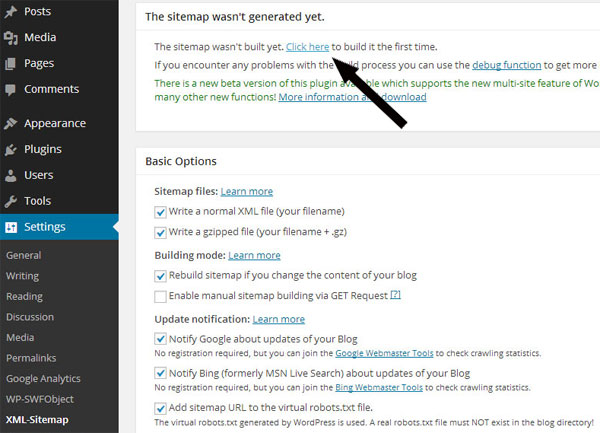
Step One
In your Dashboard Settings menu, select the XML-Sitemap sub-menu. At the top of the page select the “Click Here” link.
Note that this plugin will generate two sitemap files, with one being the XML file and the other one a zipped file (this is just a compressed folder of your sitemap).
Within a second, WordPress will inform you that your sitemap has been built, and you may view the file by pressing the link “sitemap” on the top of the page.
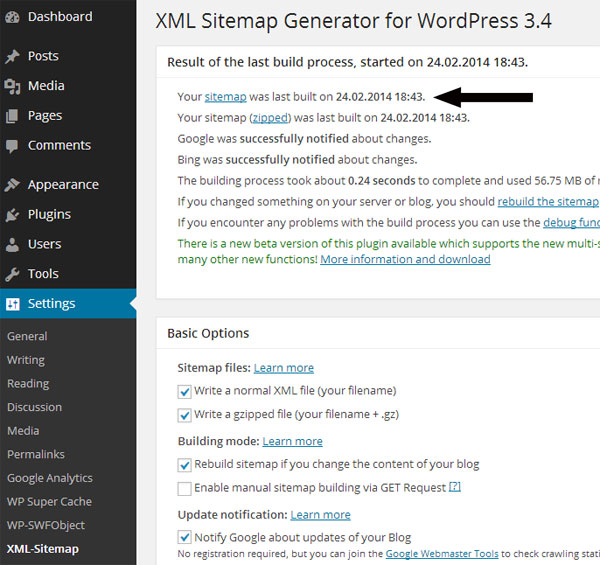
A great advantage of this plugin is that it will automatically notify Google when you make changes to your site’s content.
WordPress SEO by Yoast is also a great resource for this, and will improve your site’s SEO along with generating a sitemap for you. And now it’s showtime…
Submitting XML Sitemap to Google
To use this option first you’ll need to have the sitemap file that can be generated by your Content Management System, and a Google account logged in to Google Webmaster Tools.
Step One
The first page of Google Webmaster Tools will ask you to write the address of your website in the “Add a site” textbox. Pay attention to how you write your website address. If your website address includes www at the beginning, then don’t forget to type it in the textbox. After that, press the “Add a site” button.

Step Two
Before you upload your sitemap file, Google will ask you to verify that you really are the owner of the website, and it will present you with different options of how to prove your ownership. Select the “HTML file upload” option and follow the steps on the screen.
Press the link to download HTML verification file, upload the file at the root of your website using your FTP client, and confirm successful uploading by pressing the link generated by Google. After that, press the “Verify” button.
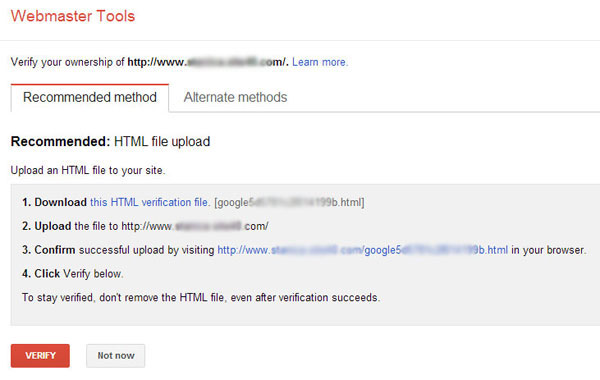
Was the verification process successful or not? Google will certainly let you know in the next message.

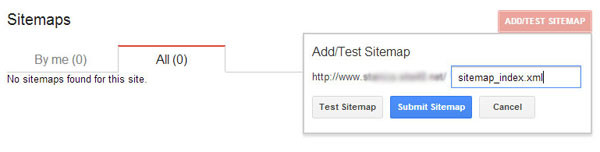
Step Three
If the verification is successful, on the newly opened page titled “Sitemaps”, press the “Add/Test Sitemap” button, write your Sitemap file name in the textbox, and click on “Submit Sitemap” button.
And voilà! In three simple steps your sitemap is now submitted! So hopefully I’ve helped you submit your sitemap successfully, and I wish you the best of luck on your new site!