RSS feeds have became a blogging standard and a lot of professional (and amateur bloggers alike) put their RSS feeds in the hands of Feedburner.
Why? It is quite simple really, it is an amazing service that is free of charge and it would be foolish to back down on such an offer! If you integrate your account with Google Analytics then you will have a great source of information on your readers and their interactions with your feeds.
You can also monetize the feeds and earn some extra income. Not bad huh? Let us go over this is easy step by step guide on how to setup RSS and Email Subscriptions in a Feedburner Account shall we?
Step 1: The basics of Feedburner
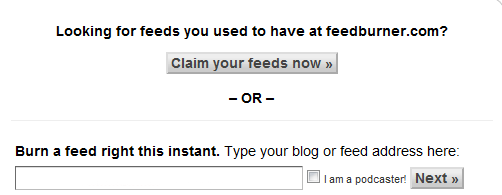
The first thing you should do is obviously go to the Feedburner service page and there you should find most of the things you need to get you started. As you can see, you obviously need to have your RSS feed link ready and the system will do the rest of the work.

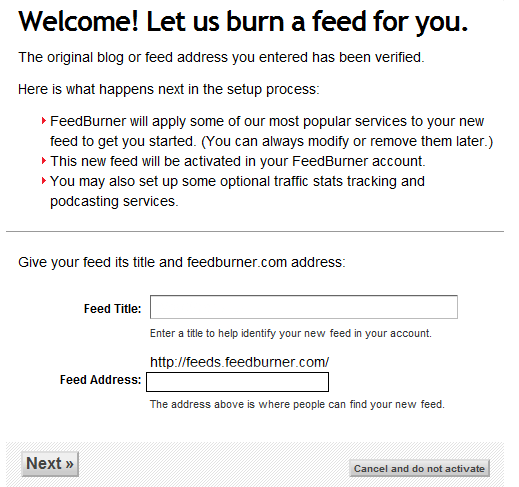
So you entered your link, what now? Well, there isn’t too much work to be done for the setup of the Feedburner account itself. Just complete some basic info as shown bellow.

Step 2: Optimizing Your Feedburner Account
After you clicked Next in the previous window, you can choose the option Skip directly to feed management.
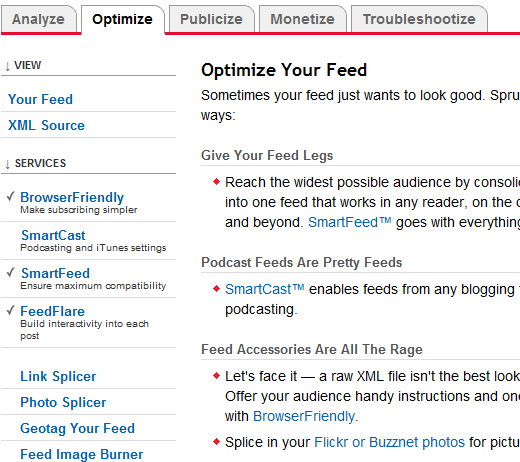
It’s here that you will find a lot of tabs and different options. You can explore them for yourself anytime, but right now focus on the Optimize tab. It is here that you want to make sure the following options are active:
- Browser Friendly option
- Smart Feed
- FeedFlare

The next step is to choose the next tab which is Publicize as you can find some interesting options here as well.
Use Ping Shot to ping your newest posts via your feeds to get them indexed faster and more noticeable. E-mail Subscriptions is another valuable option you can enable and it will allow your visitors to subscribe to your news feed via e-mail.
Setting Up the E-Mail Subscription
Once you click on the option you will get to choose from FeedBurner, FeedBlitz and SendMeRSS email providers and your choice will very well depend on your needs.
Clicking the Activate button will get the service started and you will receive a special code that your can put on your own website/blog.
There are a lot of things you can play around here, including the branding of your messages. Invest some time to explore this options as it has huge potential to score your those major leads and sales.
Step 3: Monetize Your Feed
All the hard work behind this makes little sense if there is no real advantage/profit from it. But as stated previously, there is a lot that you can get out of a Feedburner account.
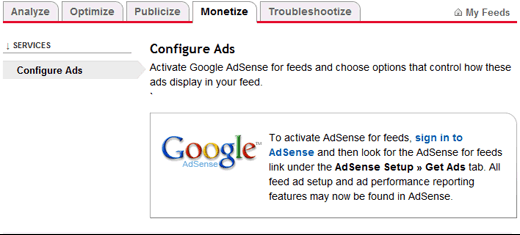
Aside from reaching a wider audience and getting more followers/ readers you can also monetize your feeds directly. This, however, can only be done via Google AdSense, so if you have an account already, make the most of it! Just go under the Monetize tab and follow the directions.

So if you aren’t using Feedburner, it is about time you started!

Its really a amazing information for me . i think great way to explame how to set up feed burner on your site . thanks to you.
Really nice tutorial . I had configured feeds for my new website , by following your article.
Thank you very much.
Glad to hear it Jithin!
One frequent perceived technical problem with FeedBurner is the reduced number of subscribers being reported for the blogs using the service. This is not actually a technical problem with FeedBurner, but by the feed readers and aggregators that report to FeedBurner, as FeedBurner collects and tallies from those partners. Usually this problem is connected with one specific RSS reader or client. ^.
Please do go and visit this useful blog page
<http://caramoan.ph/